

Quick Start
Quick Start: The Basics
Get started with Agility in 5 minutes.
In this tutorial, we'll go through how to set up an Agility Instance, create some content, and then how to access that content using the Agility Content Fetch (REST) API.
You'll need a login for Agility in order to create an instance.
Sign Up for an Account
Navigate to https://app.agilitycms.com/ to sign up for a new account. You can sign up using GitHub, Google, Microsoft, or Email/Password combo.
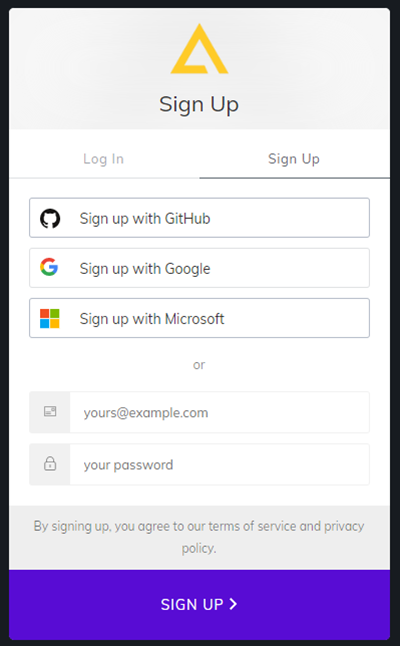
Fill out your profile details to complete the sign up.

Create a New Instance
Once you've logged in to your account, you can create a new instance. If you're trying Agility out, you can start a free trial. We can always convert this later for you. Otherwise you can reach out to your CSM to have a new instance added to your Organization.

Next, choose a name for your instance.

Create a Content Model
In order for editors to create content or to access content from the API, you'll need to define a Content Model that dictates what fields the content is comprised of.

1. Navigate to Models > Content Models.
In the example above, there are already a few Content Models defined. In our case, we are going to create a new one.
2. Click on the New Content Model button to create a new Content Model.
3. Enter a Banner as the Name and click Add Model to create the new model.

4. Click the Add a Field button and drag and drop the Text field to add your first field to your newly created model.

5. We'll name it Title and click Update Field

6. Next, drag and drop an Image field which we'll name "Image"

7. Click Update Field to add this to your model.
8. Click Save to save the changes to your model.

Initialize Content List / Container
We need to create a list for this model before we can add items to it.
Under Content Using This Model click Add to add your Banner to a Content List or set it as an individual Content Item.
We'll make a Content List for Banners.

Ready for Content
Now that you've initialized the list of Banners, you can access this content list to start entering content items by navigating to the Content (area) from the main navigation.

Add Content
Now that you have your Banner List, you can start to enter content for it.
Click the New button to create a new Banner.
Populate the fields and click Save to save your content item.

Now that you have at least one item in the list, you are ready to query the API to retrieve the list of Banners.
Access Content
You can access content using the Content Fetch REST API directly (as we will in this example), however its important to note that Agility also supports accessing content through a variety of SDKs for common programming languages.
To retrieve our list of Banners from the API, we'll need to collect some information we'll need to authenticate and request this content.
- Guid - this is the ID of your instance, you can retrieve this by navigating to API Keys
- API Key - this is the key you'll use to authenticate with Agility, you can retrieve this by navigating to API Keys
- API Type - this is the type of API request we are making, valid values are fetch (published content) or preview (returns content that is not published)
- Reference Name - this is the identifier of the content list we are trying to lookup in Agility, you can retrieve this by clicking the Settings button on the the details of the content list - in our case this will be Banners
- Locale - this is the locale code of the content you want to request (i.e. en-us)
Making the API request:
curl https://api.aglty.io/3e1a3c85-u/preview/en-us/list/banners -H 'apiKey: defaultpreview.14e9c38e5e5aeb7bf8280aa1098b592e51ed7577fc6706dfb1ee2659462708c4'
{
  "items": [
    {
      "contentID": 130,
      "properties": {
        "state": 1,
        "modified": "2021-09-15T16:24:45.173",
        "versionID": 1040,
        "referenceName": "banners",
        "definitionName": "Banner",
        "itemOrder": 0
      },
      "fields": {
        "title": "Hello World 🌎",
        "image": {
          "label": null,
          "url": "https://cdn.aglty.io/cwnmkkqb/posts/canadian.jpg",
          "target": null,
          "filesize": 143582,
          "pixelHeight": "830",
          "pixelWidth": "1200",
          "height": 830,
          "width": 1200
        }
      },
      "seo": null
    }
  ],
  "totalCount": 1
}